Many of us take our photographers using raw files to capture all the details, and of course, that makes total sense! However, there is always a vicious lie that you can not recover details from jpeg files. While, to some degree this is correct for some photos, jpeg files far more malleable than you may think.
In this test, I used a raw file, which then (using Nikon’s perfectly accurate NX Studio software) I saved the file between five stops under-exposed and five stops over-exposed. I also saved the image as a jpeg with a 10000k white balance offset to test recovery of white balance.
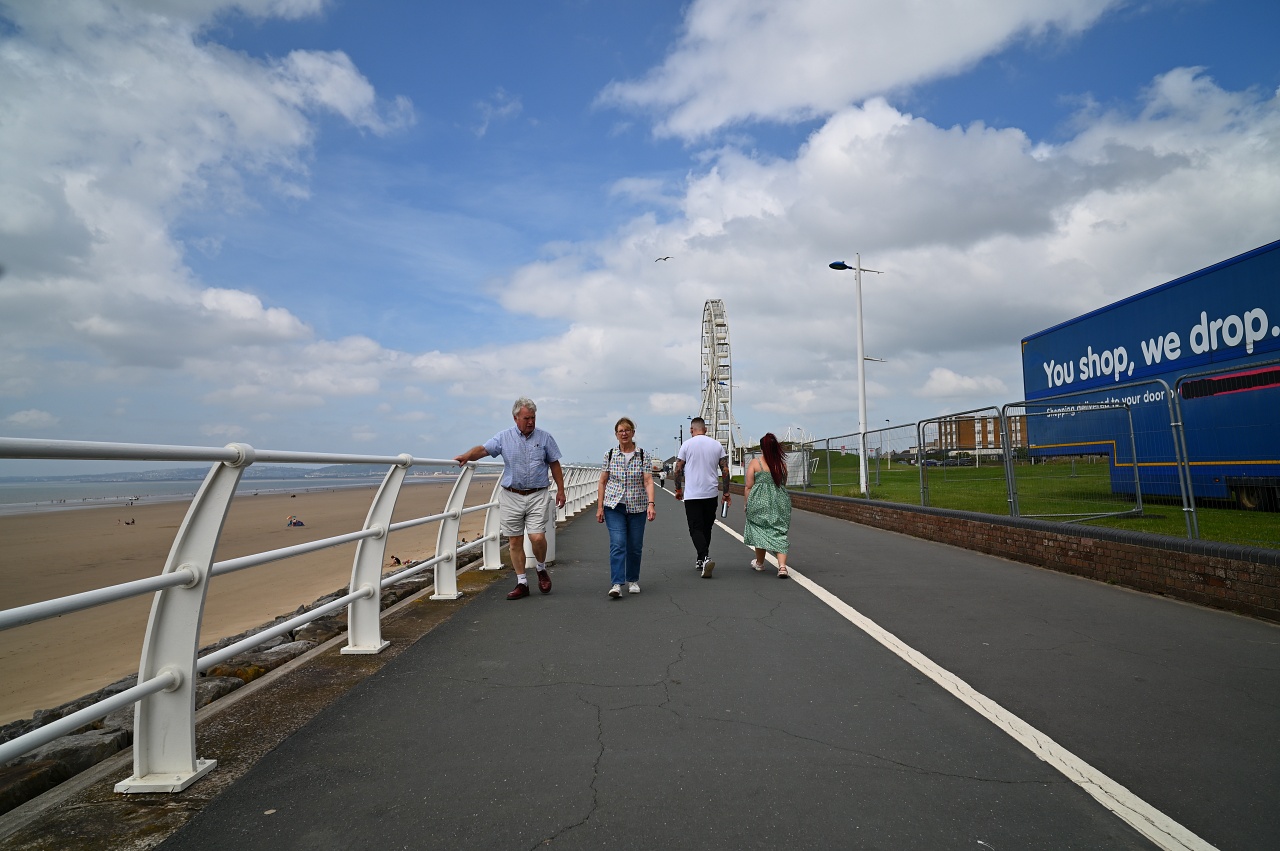
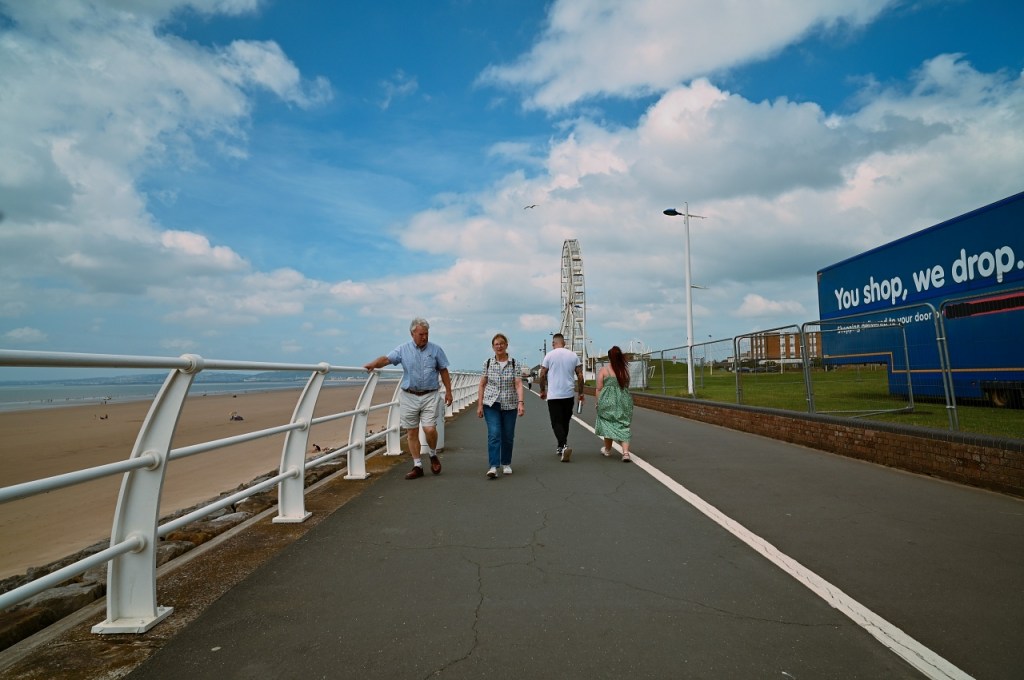
Here is the original image. I chose this image as it has some a nice colour chart in the ladies shirt, a pocket that stands out very well on the persons trousers walking away, shadow areas on the rocks and plenty of highlights. There is also a lot of smaller details such as the fences and people on the beach including colourful umbrellas.

Before we start, just think to yourself about how often you actually get an image exposure so wrong that you have to bring back five stops of light. If you are having these issues, it probably says more about your lack of photography skills, than the capabilities of the camera.
One Stop Under Exposed
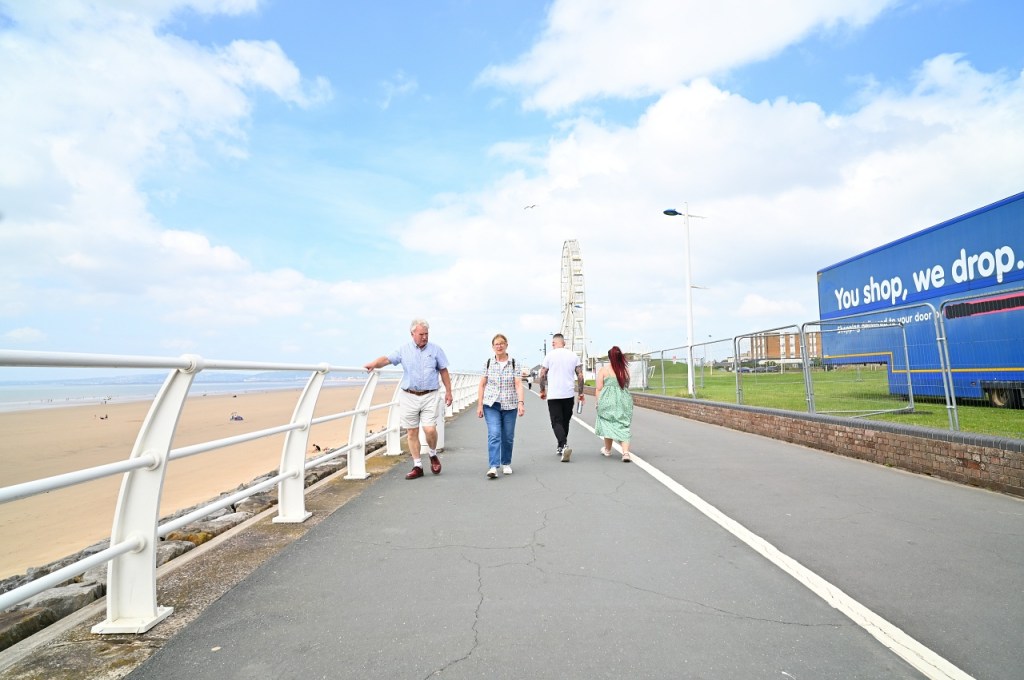
Of all the examples, chances are that sometimes we get an image underexposed by a stop, and quite often we may deliberately underexpose to keep the highlights. The corrected image has little to no loss of detail as can be seen in the corrected image (1)


Two Stops Under Exposed
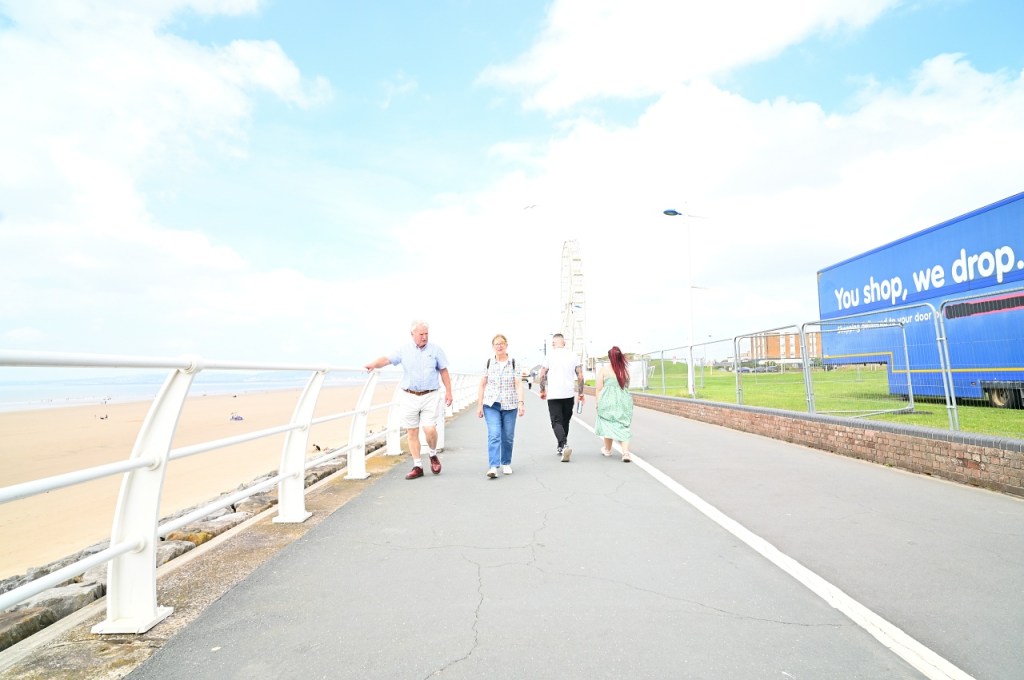
Two stops under exposed is more difficult to achieve by accident. Zooming into the photograph (2) you will see the image is still more than useable, with a tiny amount of noise creeping into the image. But it is barely noticeable at 100%


Three Stops Under Exposed
Now we are into territory that is very hard to hit accidently. When zoomed in to 100%, the image (3) starts to show a little bit of colour noise. At 200%, you will see the noise more clearly.


Four Stops Under Exposed
Now we are really pushing the exposure. At 100% there is noticeable noise and image degradation. The image is still useable though, and colours are still accurate. General details are still holding up, however the mans black pocket (walking away) is almost invisible and blended with his trousers.


Five Stops Under Exposed
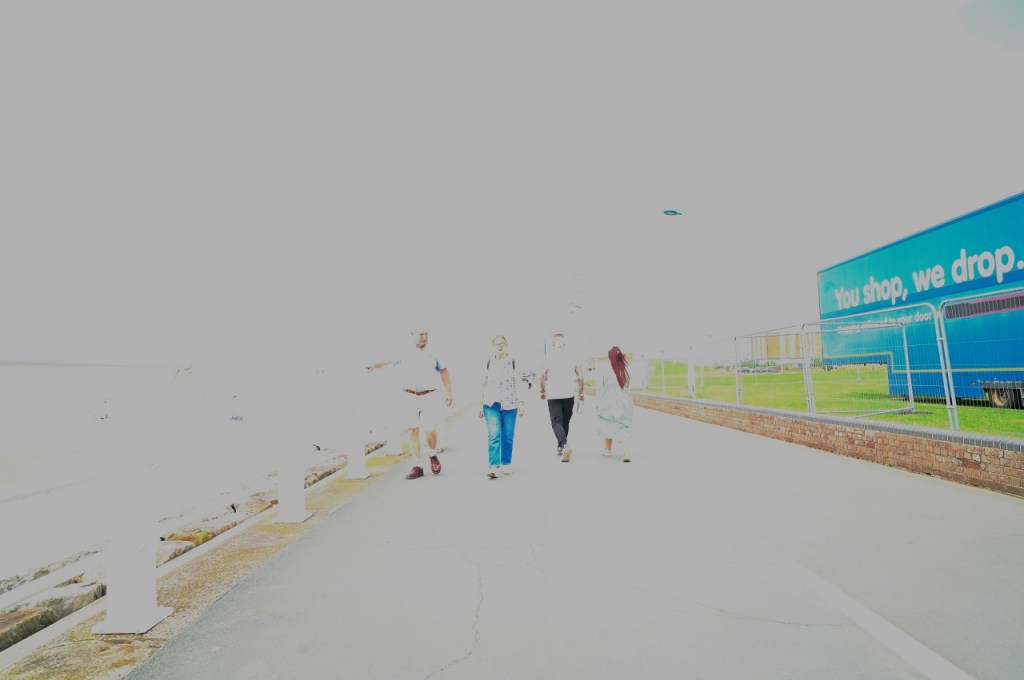
As you can see, at five stops under exposed, the image is almost black! The corrected image (5) is now very noisy with detail lost and colour shifts in the shadows. The small umbrella on the beach to the right is now very mushy, the peoples faces and the woman’s face is very grainy. The mans black pocket (walking away from us) is now unrecognisable.


One Stop Over Exposed
There is not much issue, as expected from recovering from one stop over exposed. The corrected image (6) holds out very well.


Two Stops Over Exposed
Two stops over exposed is a little harder to recover in the highlights. Image (6) is looking quite noise free, however, the highlights are harder to control. Detail in most areas is pretty good though.

Three Stops Over Exposed
Suddenly, at three stops over seems impossible to recover. Although noise and detail in everything but the highlights in the image (8) is under control, colours are harder to control and the highlights are becoming impossible to recover.

Four Stops Over Exposed
Again, it is a mess! At 4 stops over exposed, the image (9) is really struggling to be corrected. It has lost details, has colour shifts and we can not get back the data needed to make an acceptable image.


Five Stops Over Exposed
Images at five stops over exposed are un-recoverable, and you will have lost your image, with no hope of ever recovering it!

Correct Exposure Wrong White Balance
Just a little test on this one. Something that can happen when photographing in auto white balance is that can give you the wrong white balance. For this image, the exposed image is way off white balance, shot at 10,000k Kelvin. The corrected image in this case (11) is more than useable, although it may not be 100% accurate to the original, it is pretty close!

Conclusion
It does not matter if you take your photographs in raw or jpeg, it is only ever the end result that matters. This little test is just showing that there is more than enough latitude in jpeg files for everyday photography. Accidents happen, but for the most part, you can recover from them (as shown above).
You can edit jpegs easy enough, and, I have supplied and shared many edited jpeg images to people and groups, and no-one is any the wiser… because it does not matter as long as you get the results (I must drum this in as some people think otherwise!).
Obviously, if you want to get really artistic, you need to know the limitations of the file format you are using. I always photograph in both raw and jpeg for this reason, using the jpeg a lot of the time, but having the raw file for when needed. If you have hundreds of photos to edit, sometimes it is just easier that way.
However, the point is to all this, do not be afraid to use jpeg, do not worry what others say about how they can not be edited… because the results are clearly on display for you above.
Whatever you decide to do, just enjoy yourself and have fun.

I use the same approach, Mark – RAW + JPEG, and I just go with whatever fits best for the shot. Same story with single-image HDR: we don’t always have to stick to the textbook. Sometimes bending the rules gives you better results. Well written, Mark!
LikeLiked by 1 person