It is a question you see all the time, it is a badge of honour that some photographers use in order to beat-their-chests to show supremacy, “are professional photographers better than amateurs?” The answer might surprise you! “What Is A Professional Photographer?” Generally speaking, a professional photographer is someone who earns all, or most ofContinue reading “Are Professional Photographers “Better” Than Amateurs?”
Category Archives: Guide
Do I recommend A Fisheye Lens For Your Photography?

Let us be clear about this. Fisheye lenses are not for everyone. The strange distortions mean that the image you see is like a characterised version of the subject you are photographing. But used in moderation, it can be a fun addition to your kitbag, brought out on times when you want to be creative.Continue reading “Do I recommend A Fisheye Lens For Your Photography?”
Editing Wildlife In RapidRaw Like A Pro
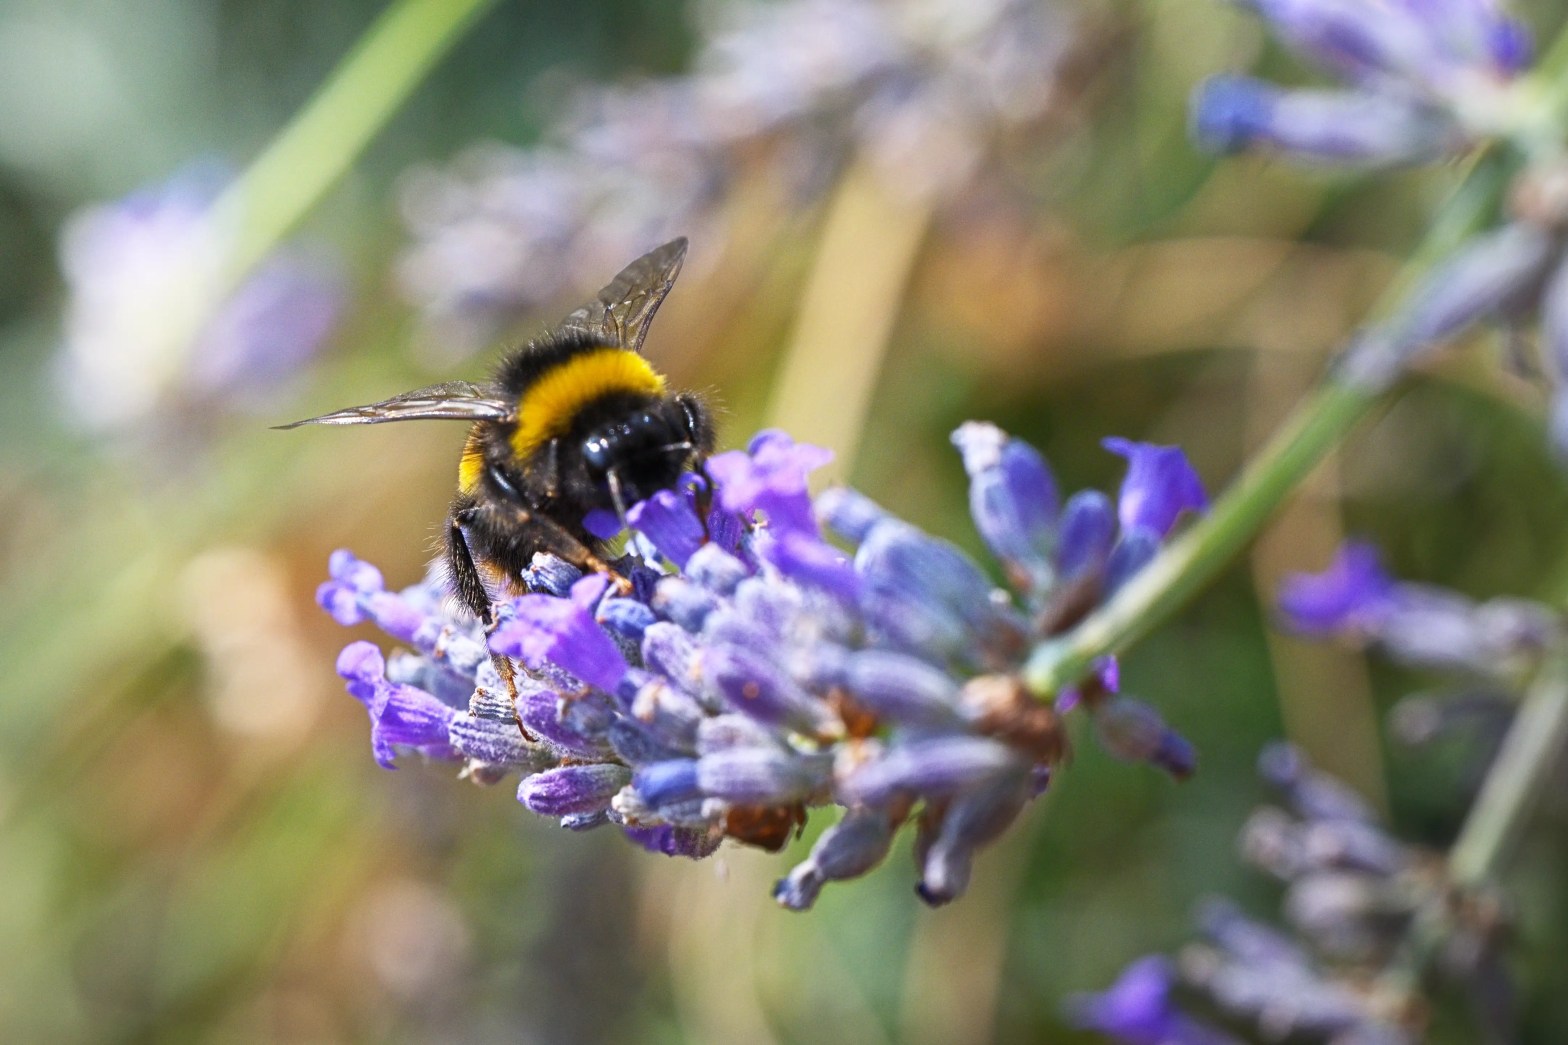
RapidRaw is going from strength to strength, and I have released numerous editing videos on my YouTube channel for the software. Today I present a simplified version of an edit of a bee using RapidRaw 1.5.9. Each step talks you through getting the best from an edit. This is a bare-bones edit, and usually IContinue reading “Editing Wildlife In RapidRaw Like A Pro”
How Far Can You Compress A Jpeg File To Be Useful?

We all know the conundrum. Be it saving your image for your website, or sending a set of images through the internet or even just for archiving your photographs. Just how much can we compress a jpeg file and the file is still useable for viewing on big screens or for printing. Today we takeContinue reading “How Far Can You Compress A Jpeg File To Be Useful?”
The Power Of The Aspect Ratio
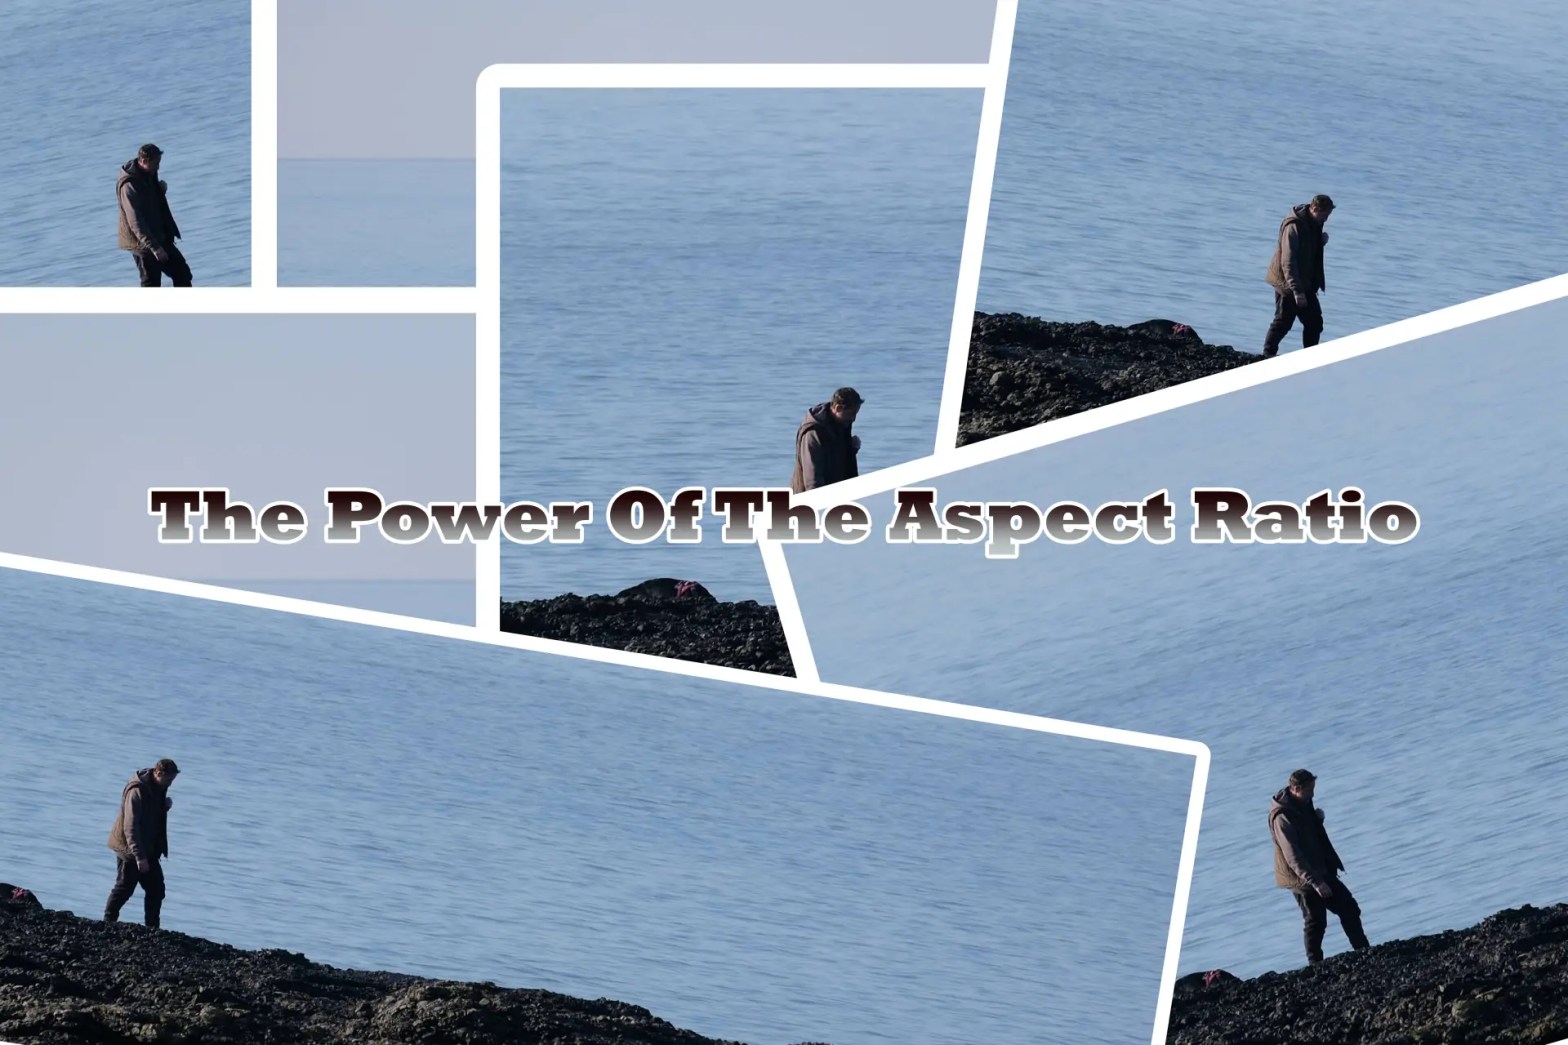
The way you decide to present your images is always important. For many people though they don’t use the power of the aspect ratio in their work. More often or not you’ll see their images displayed in their out of camera ratio of 3:2 (most cameras) or 4:3 (micro four thirds). In this article weContinue reading “The Power Of The Aspect Ratio”
