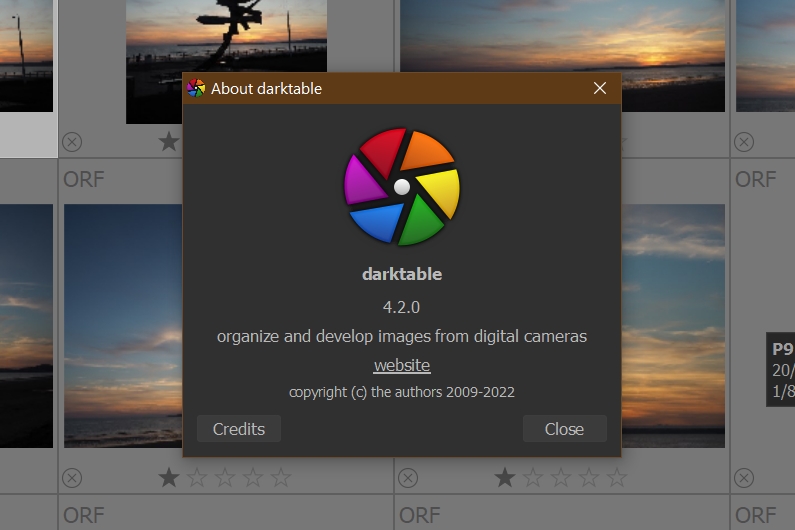
Another year is ending (and ended!) with a new Darktable release, and the free and open source community brings us another stunning release with Darktable 4.2. This is a major update, and not because it offers many new features (it has a few great news features!), but because many parts of it have been re-written, and as a result, the performance has been improved!
What is Darktable?
Darktable is a free, open-source raw editor for the full control of editing your images (it will edit jpeg images also if you don’t use raw). It has many advanced features, and although quite daunting at first glance, the software is intuitive and has plenty of options to customise the layout and tools to your own needs.
Darktable 4.2 features the most comprehensive tools to control the colour in your images, and includes everything you need for a complete workflow. It has advanced masking features that mean you can target the exact areas you need to adjust.
Every tool you expect from an editing package is available, plus it has a light table view that allows you to see all your images in one place, and compare or cull images. You can also give your images ratings and tags to ensure that if you have a lot of images, you can find what you need quickly and efficiently.
What’s new in Darktable 4.2
Version 4.2 kicks off with a very new module. It’s an alternative to the Filmic RBG module, and it’s much simpler to use. I’ve tested the module extensively in the early release versions, and I’m glad to say it’s a worthy addition to Darktable. For many images you can bypass using Filmic RGB and use Sigmoid instead. Images processed with this module rarely need more than the turning on of the module. You’re image will suddenly come alive with much more contrast and a much nicer look than Filmic RGB generally gives. If you need more contrast, the contrast slider really works wonders.

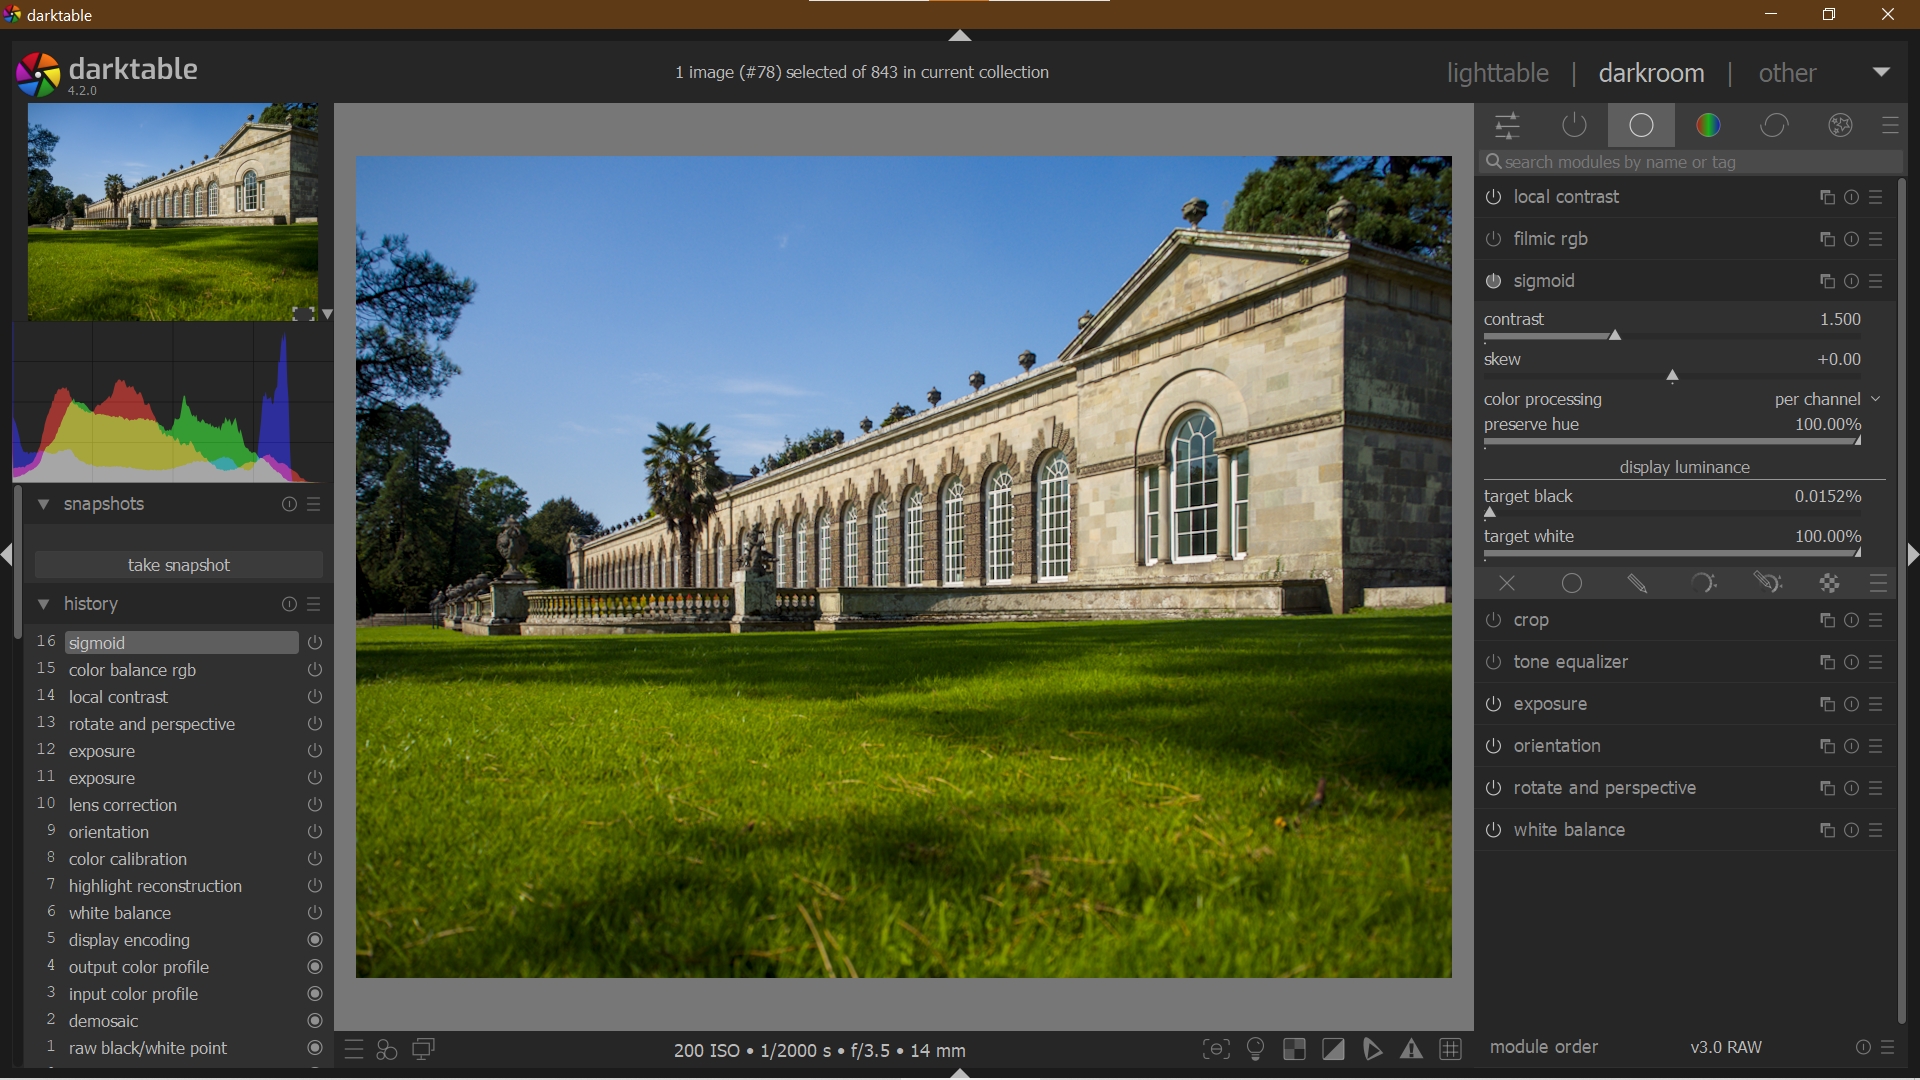
The only potential downside you the Sigmoid module is it can give highlights a little washed out effect, however, it’s easy enough to recover, and I will touch in this in a future article.
A very useful addition to Darktable 4.2 are two new algorithms in the highlight reconstruction module. The main choice of interest is the one that they have now made the default choice, “inpaint opposed”, had proved very powerful, and compared to previous versions of Darktable, controlling the highlights should be even easier with far better results.
A change of note, that we’ve all been waiting for is dynamic snapshots. Now, when you compare snapshots of your image, you can zoom in on areas and everything aligns properly. This is an great feature, and I think all users who utilise the “before/after” features (or in Darktable it can be any two points) will love this feature.
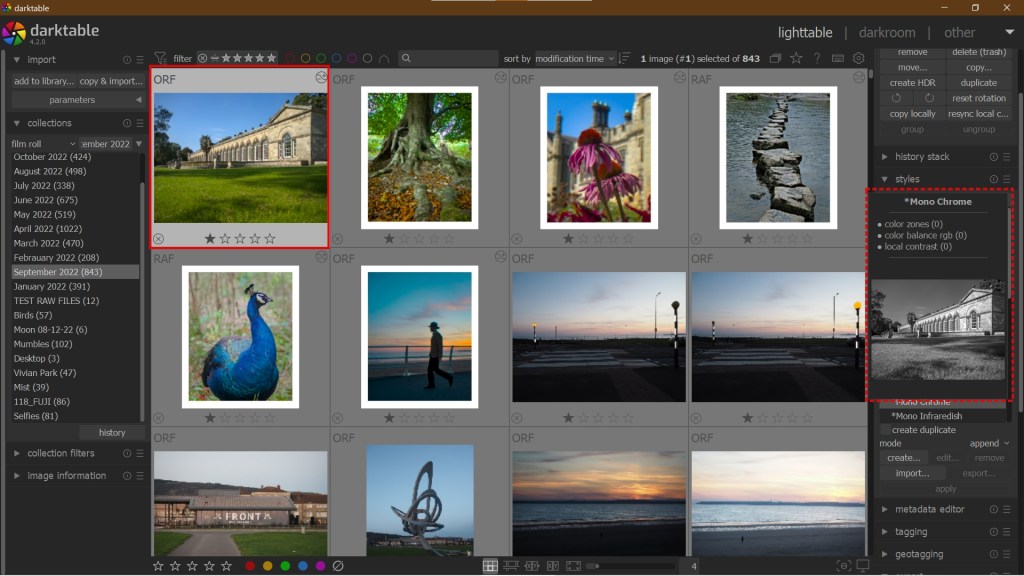
Darktable Styles are now previewed by hovering over the style name, and once again, this is a small but significant tweak to the software that really elevates it’s importance as a professional editing piece of software.
The lens correction module has been enhanced to use recorded data from the lens where possible, making the module more efficient, especially for lenses that were previously not supported (as I was glad to find out!).
And there have been many improvements to the user interface, with many tweaks to performance, placement of text and do much more. It’s a genuine improvement on previous updates.
User interface
There have been some minor tweaks to Darktable 4.2, and the package is starting to look and feel less clunky and more modern. As always there are three view options.
- Lighttable – This is the starting screen, and shows you the library of images you have available, plus it gives you the option to perform various tasks such as deleting images, adding DT Styles to images, copying and moving images, saving images and so on.

- Darkroom – The Darkroom view is where all your editing takes place. On the left of the screen you have your snapshots, history, file information, tagging options and more. The middle is your images which you can see while you edit, and the right shows the editing options (which is split into groups to make things easier – quick access panel, show only active modules, base, color, correct and effect).

- Other – This section contains the map, slideshow and teathering options.
Buttons and sliders are just the right look and size, the colour palette theme options are great and you get the information you need presented nicely. You can make sections smaller or larger as needed and customise it to your screen size!
It is a very different looking editor to other editing programs, so you will need to familiarise yourself with its layout. That said, once you do know your way around, it’s a piece of cake.
Performance
I’m using a five year old i5 laptop with 8GB RAM using the Intel graphics chip and an SSD. Performance is fast and reliable. Through my trials of the pre-release version through to actual release 4.2, Darktable has performed well, and I have not encountered any sudden crashes.
Updating to the latest version also proved to be smooth and without any issues. I know some worry about upgrading from version to version, but honestly, the move to Darktable 4.2 has been a smooth one.
Conclusion
If you want a free piece of editing software that can get you professional quality images, and no cost, then you’re in luck as Darktable fits that bill. What’s more, the direction the software is taking is making it easier for newcomers to start editing with nowhere near as much effort as there used to be.
There are many great tutorials to get you started, and indeed, I myself have written a few that will make editing in Darktable super easy.
Darktable is excellent, a genuine gem that surpasses even many paid software packages. Invest the time to learn the very basics, and you’ll be producing great images within a short time.

Useful review thanks Mark. I’m a hobbyist who at the moment is mostly playing around with SOOC Fuji recipes (your Leica Like V 2 is my current favourite by the way). I shoot JPEG + RAW and every now and then there will be something I want to work on a bit more. I’m not sure that justifies continuing to pay for Lightroom so I might give Darktable a go
LikeLiked by 1 person
Thank you very much. I have plenty of really ready tutorials there too to make getting started very quick and easy. I have stopped paying Adobe (I did a while ago), and really happy with Darktable.
And thank’s for enjoying my recipes 🙏🙏🙏
LikeLike
Mark thanks for this, just a quick ? should I choose a style first or do that after adjustments.
LikeLiked by 1 person
I’ve written this guide here on the best way to apply styles: https://onecameraonelens.com/2022/10/13/a-selection-of-darktable-styles/
LikeLike
Great review Mark !
I’m still catching up on reading, after two weeks the list of unread articles looks a bit scary, but I’ll get there.
My favorite in darktable is the color correction module, underappreciated by many I think, but invaluable for film simulation.
Keep up the good work Mark !
LikeLiked by 1 person
Thank you Marc, I’m glad to see you back!
LikeLiked by 1 person
Nice review. I’m a new subscriber to your YouTube channel. I enjoy watching the combined outdoors and editing videos. I know from editing experience that it takes a lot of work.
LikeLiked by 1 person
Thank you! Another one coming up today or tomorrow!
LikeLiked by 1 person