Many users of Darktable are Fujifilm camera users, and thankfully Fujifilm raw files work nicely with Darktable. However, I had some comments from Darktable users where they say that Fujifilm files can be underexposed by seemingly a lot once you open them in the darkroom. Here is your answer to why this is!
I’ll give you the answer straight away, it is your DR settings for your jpegs! Yes, even when you are using the raw files, the DR (Dynamic Range) settings, affect your raw images.
Note: Since writing this article, it has been noted this is an issue for other cameras using similar “D-Lighting” and DR settings.
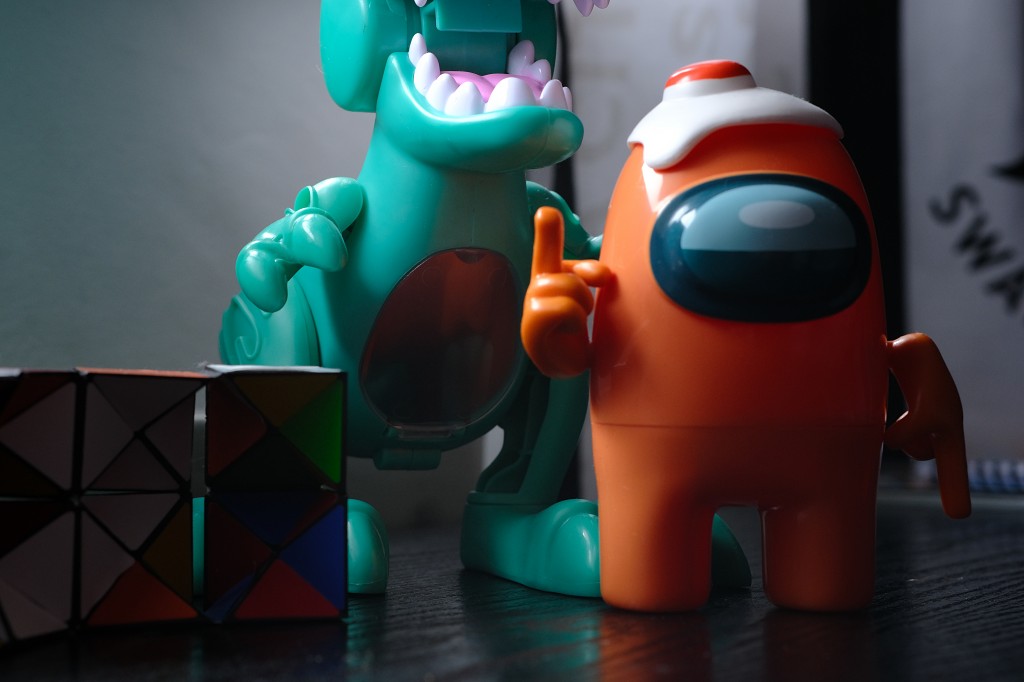
Take a look below, you’ll see three perfectly exposed images with identical settings and lighting conditions. These are the jpeg images that the camera produces.

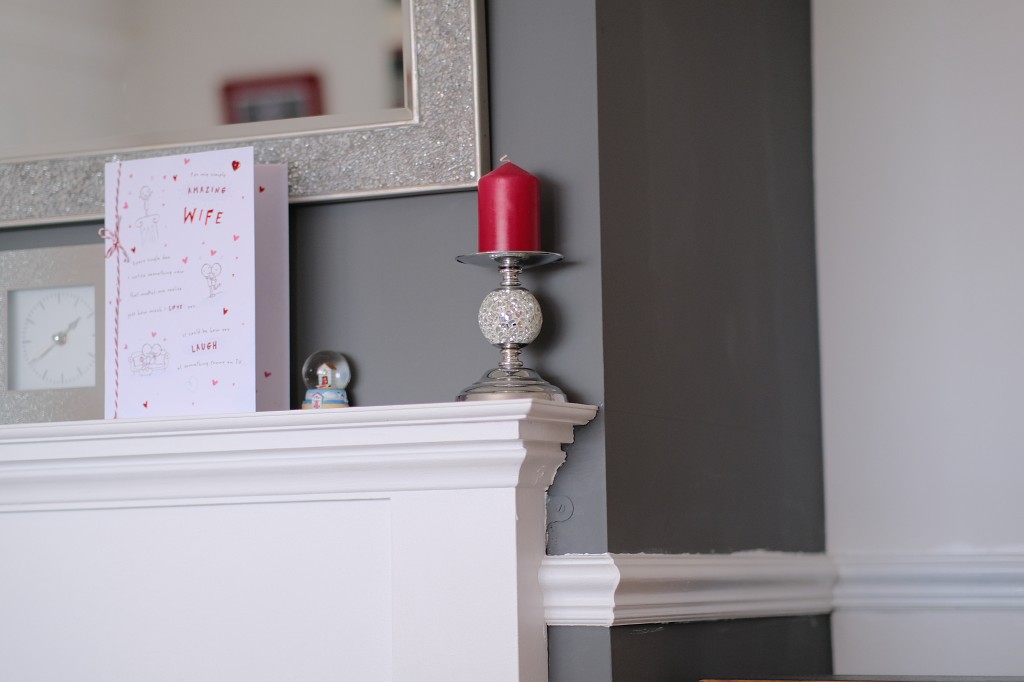

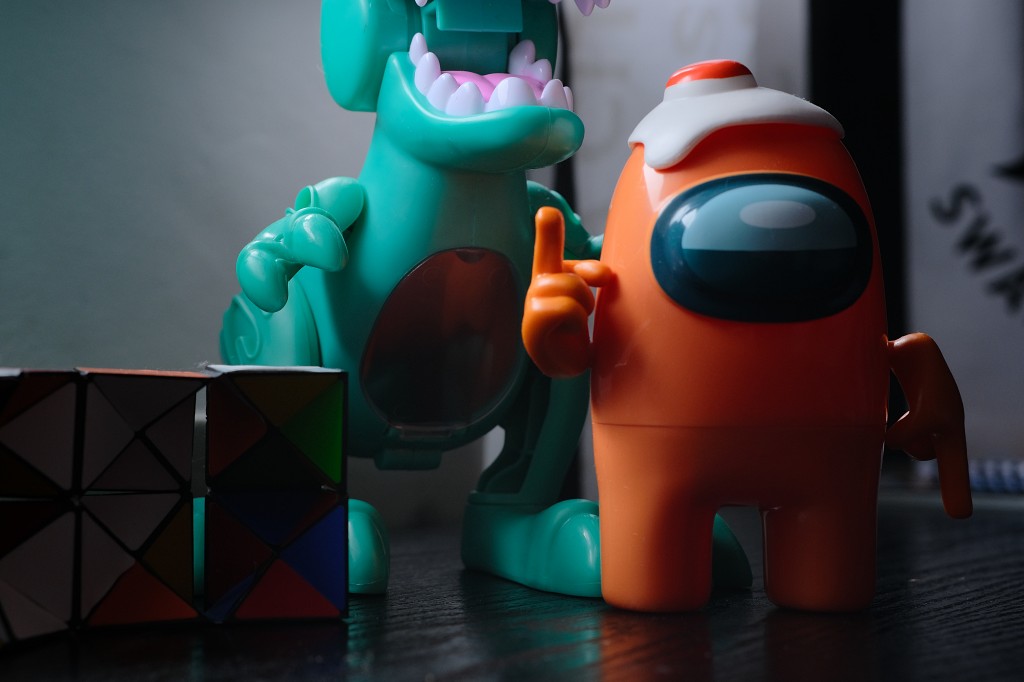
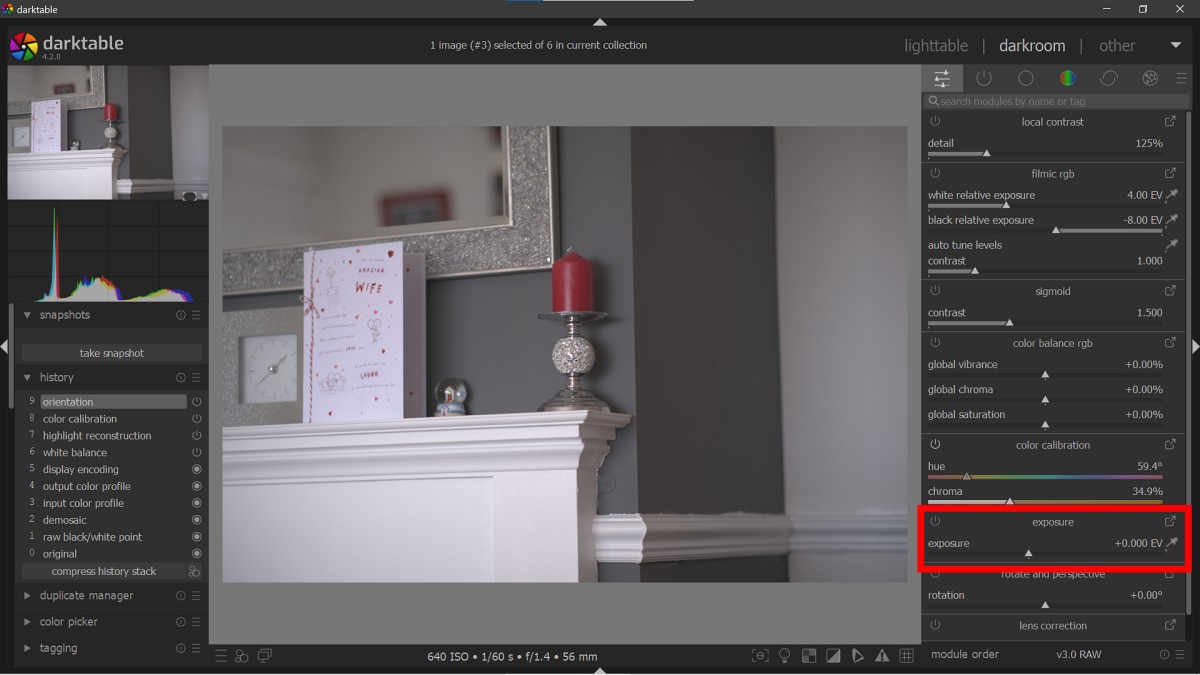
Now take a look at these three images. The first is photographed at DR100 and is the correct exposure (the histogram matches the cameras histogram), the second image is the DR200 image and the third image is the DR400 image. These are all the Fujifilm raw files opened up for the first time in Darktable.


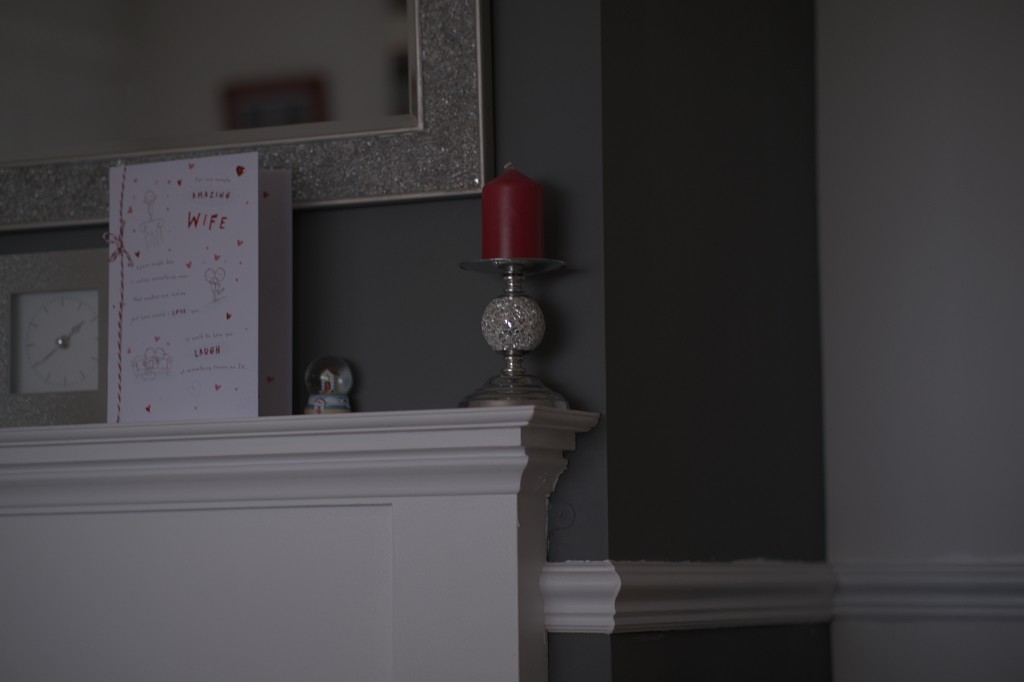
As a note, these images are photographed at ISO640, which is the lowest ISO setting that can be used with DR400. Because Darktable makes only the adjustments needed to show the initial image, if you photograph under-exposed, your raw file will be underexposed, and the higher the DR number you are using (DR400), then the darker the image is when you import the images into Darktable.
Now look at the histograms for these three images. In camera, the histogram was the same as the DR100 image and the image was correctly exposed.
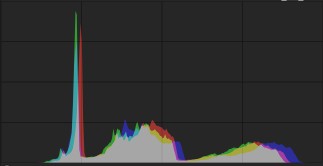

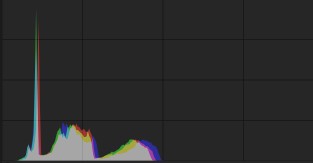
Below are three identical underexposed images that looked ok on the back screen of the camera, but the histogram was underexposed, again DR100, DR200 and DR400. You can see that as straight from camera jpegs, they look very much identical, with only the highlights slightly different, and a little underexposed as I shot it like that for this test.

Now look at the same images as opened up in Darktable. Once again, they are underexposed, this time, even the DR100 is underexposed as of course, it was photographed this way in camera.


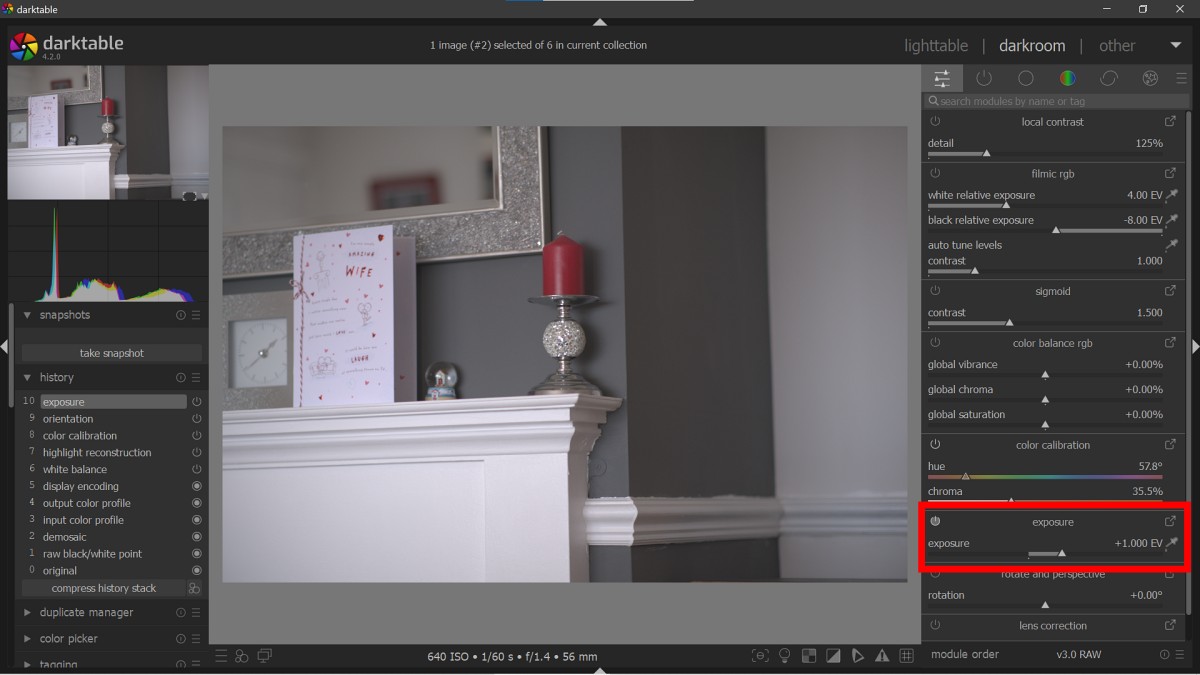
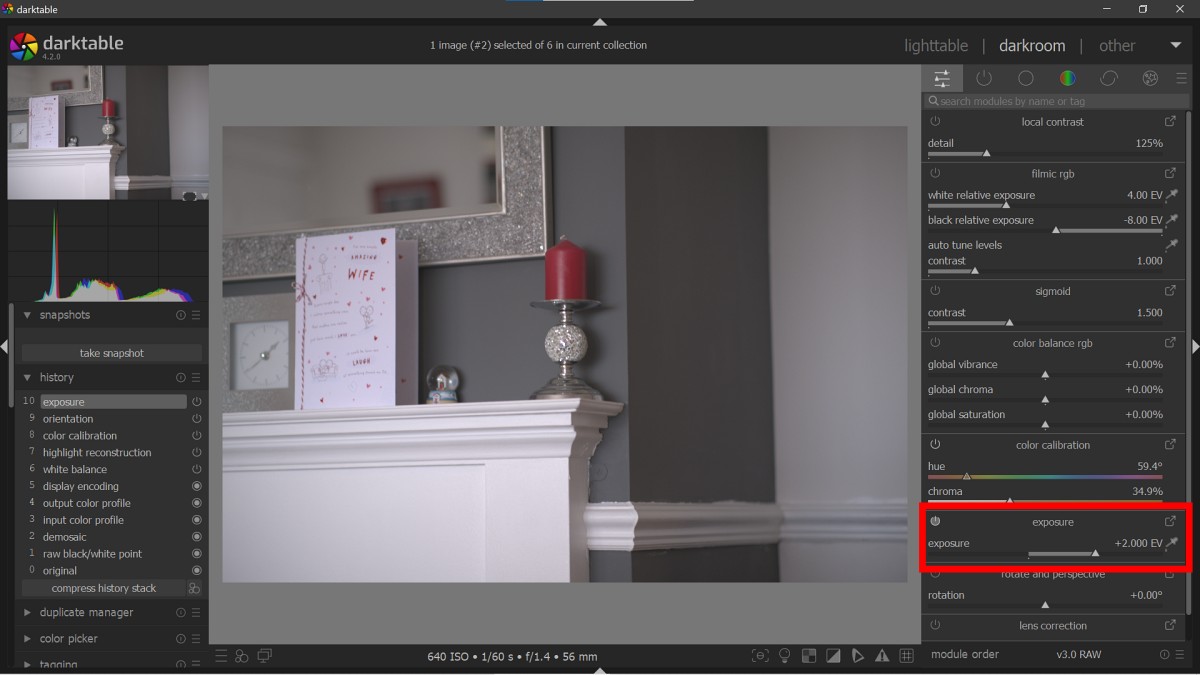
To correct all these both sets of images I had to add an extra 2 stops of exposure to the DR400 image and an extra 1 stop of exposure to the DR200 image in order to match the histograms. This can be seen in these next examples. Click on them to see them full screen.
Conclusion
What we conclude from this is that if you are using a Fujifilm camera, and raw files are your primary source of editing, you should use DR100 to get the exposure as you set in camera. It will make your starting image the correct exposure, as seen in these examples. If you are underexposing, even a little in camera and using DR400, your images when first opened into Darktable will be very dark.
Remember, for raw files:
DR100 = Correct exposure
DR200 = -1 Stop exposure
DR400 = -2 Stops exposure
Correcting In Darktable
To correct in Darktable, the easiest thing to do is hit the automatic exposure button to get you into the ballpark. Else, simply increasing the initial exposure by the relative stops required will also be a simple option. Remember, if you are only relying on your viewfinder, you may find your images in reality may be underexposed.

One thought on “Fujifilm raw files and why they can look underexposed in Darktable”